
Basement Subfloor: Why Concrete Needs One and What to Use
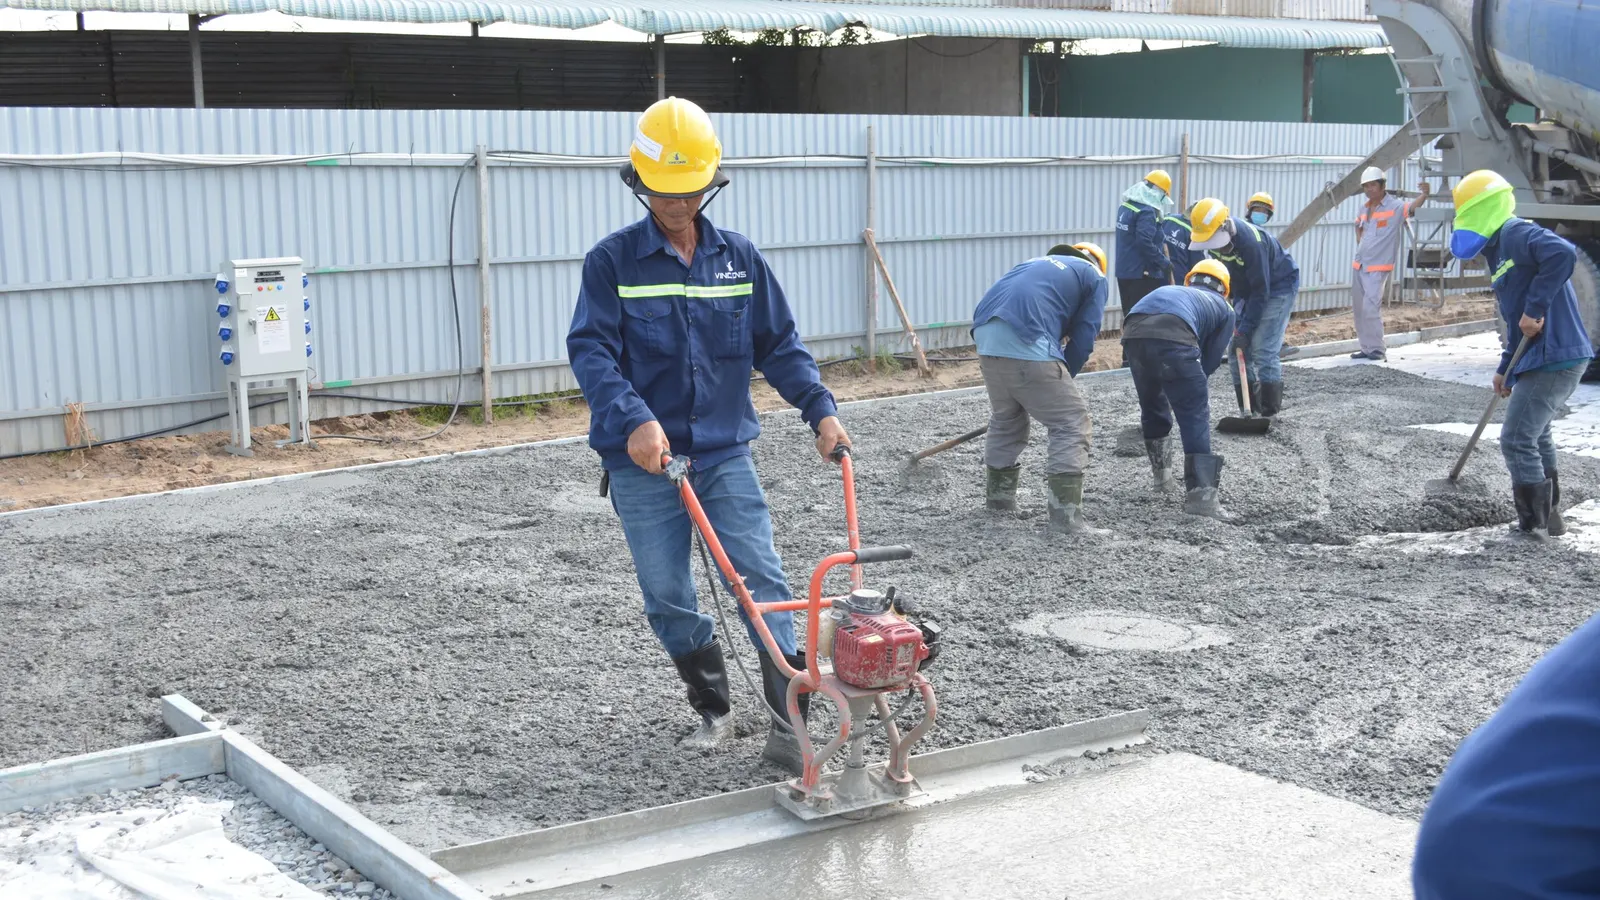
A basement subfloor is the layer between a concrete slab and whatever you walk on, and it is the part of a basement finishing project most often cut to save money. Laying a subfloor over concrete addresses two things the slab does continuously: it passes moisture upward, and it stays cold. Most finished floor materials tolerate neither.
Last reviewed and updated: October 9, 2026. Written by Jeremy Jarvis.
Key takeaways
- A concrete slab in contact with the ground passes moisture upward continuously, even when the surface looks dry.
- A subfloor separates the finished floor from that moisture and from the slab’s temperature.
- Test the slab for moisture before choosing anything; the test is cheap and it changes the answer.
- EPA’s rule governs the outcome: mold will not grow without moisture, so the assembly has to stay dry.
- Height is the real constraint in most basements, and systems differ by an inch or more.
Test the slab first
The moisture result decides the system. Check where your basement stands with the Basement Moisture Diagnosis before buying anything.
What a basement subfloor actually does
Four jobs, and different systems weight them differently.
- Separation from moisture. It keeps the finished floor out of contact with a slab that is passing vapour.
- Thermal break. It raises the surface temperature underfoot, which also reduces condensation risk.
- Levelling. Slabs are rarely flat, and some systems accommodate that.
- A fixing surface. It gives flooring something to sit on or fix to other than concrete.
Only the first two are strictly necessary in every basement. The other two are the practical reasons installers prefer one system over another.
A fifth benefit is worth mentioning because people notice it immediately: sound and comfort. A floor laid straight onto concrete is hard underfoot and reflects noise sharply, while almost any build-up softens both. In a basement used as a living room or a bedroom, that difference does more for how the space feels than the flooring choice above it.
Why a concrete slab is the problem
A below-grade slab sits directly on soil, and soil holds moisture. That moisture moves through concrete as vapour, continuously, whether or not the surface ever looks damp.
The slab is also cold, because the ground beneath it is cold. A cold surface in a humid basement is where water condenses, which our condensation guide explains in detail for walls. The floor behaves the same way.
Put an organic material such as timber, laminate or a paper-faced product directly onto that, and you have the conditions EPA describes: mold may begin growing indoors when mold spores land on surfaces that are wet. EPA adds the principle that matters here, which is that the key to mold control is moisture control.
Test the slab before choosing anything
This step costs very little and it changes which basement subfloor systems are viable, so it belongs before the shopping rather than after.
The simple version is the plastic sheet test. Tape a square of clear plastic tightly to the slab, sealing all four edges, and leave it for a day or two. Moisture underneath means the slab is passing vapour. The same test on a wall distinguishes condensation from a leak, and it works just as well on a floor.
More precise options exist, including relative humidity probes set into the slab and calcium chloride tests, and flooring manufacturers often specify which they require before a warranty applies. If you are laying an expensive floor, read that requirement before buying.
A slab that fails the test is not a reason to abandon the project. It is a reason to deal with the water first, using the measures in our waterproofing guide, and to choose a build-up that tolerates vapour.
Comparing the main basement subfloor systems
| System | Height needed | Insulation | Levelling | Suits |
|---|---|---|---|---|
| Interlocking panels with dimpled underside | Lowest | Modest | Limited | Tight headroom, DIY installation |
| Rigid foam plus board over it | Moderate | Good, and adjustable | Limited | Where warmth matters most |
| Sleepers with foam between | Highest | Good | Best | Uneven slabs, generous ceiling height |
| Dimpled membrane plus board | Moderate | Low | Limited | Slabs with known vapour movement |
| None, flooring direct to slab | None | None | None | Only materials designed for it |
Read the height column first. In most basements it is the constraint that eliminates options before any other consideration gets a say.
Panel systems
These are the basement subfloor products most homeowners encounter: square interlocking panels, usually with a board surface bonded to a plastic underside moulded with small feet or dimples.
The dimples create a continuous air gap between the board and the slab. That gap does two useful things: it keeps the board out of contact with any moisture on the slab surface, and it allows a little air movement so incidental damp can dry rather than accumulate.
They are popular for good reasons. The build-up is shallow, which matters when headroom is tight. Installation is genuinely achievable for a competent homeowner, since the panels interlock and cut with ordinary tools. And if a section is ever damaged, individual panels can be lifted.
The limitations are levelling, since they follow the slab rather than correcting it, and insulation value, which is modest compared with a foam build-up.
What it costs to build
Subfloor costs are usually quoted by area, and the spread between systems is wide enough to affect a budget noticeably.
Panel systems are sold by the panel, which makes estimating straightforward: measure the area, divide by the panel coverage, and add an allowance for cuts around the perimeter and any obstructions. Material is the dominant cost, since the labour is light.
Sleeper and foam build-ups invert that. The materials are individually inexpensive, but the labour content is substantially higher, so hiring the work out costs considerably more than the material list suggests.
Against either, weigh what the subfloor protects. Bob Vila lists the quality of materials used among the biggest factors affecting what it costs to finish a basement, and the floor finish is often one of the larger material lines. Spending modestly on the layer beneath it to protect a larger spend above is straightforward arithmetic.
Our basement finishing cost guide puts this in the context of the whole project, where the subfloor is one line among many rather than the headline.
Sleepers and foam
The traditional approach lays timber sleepers across the slab, fills between them with rigid foam, and boards over the top.
It is the most adaptable option. Sleepers can be packed to correct an uneven slab, the foam thickness is whatever you choose, and the resulting floor is stiff and warm.
The costs are height and labour. This is the deepest build-up of the common options, and in a basement with a low ceiling that alone rules it out. It is also considerably more work than clipping panels together.
One detail matters more than the rest: the timber must be kept out of contact with damp concrete. That means a vapour barrier or a capillary break beneath the sleepers, because untreated timber lying on a slab that passes moisture is precisely the assembly EPA’s guidance warns about.
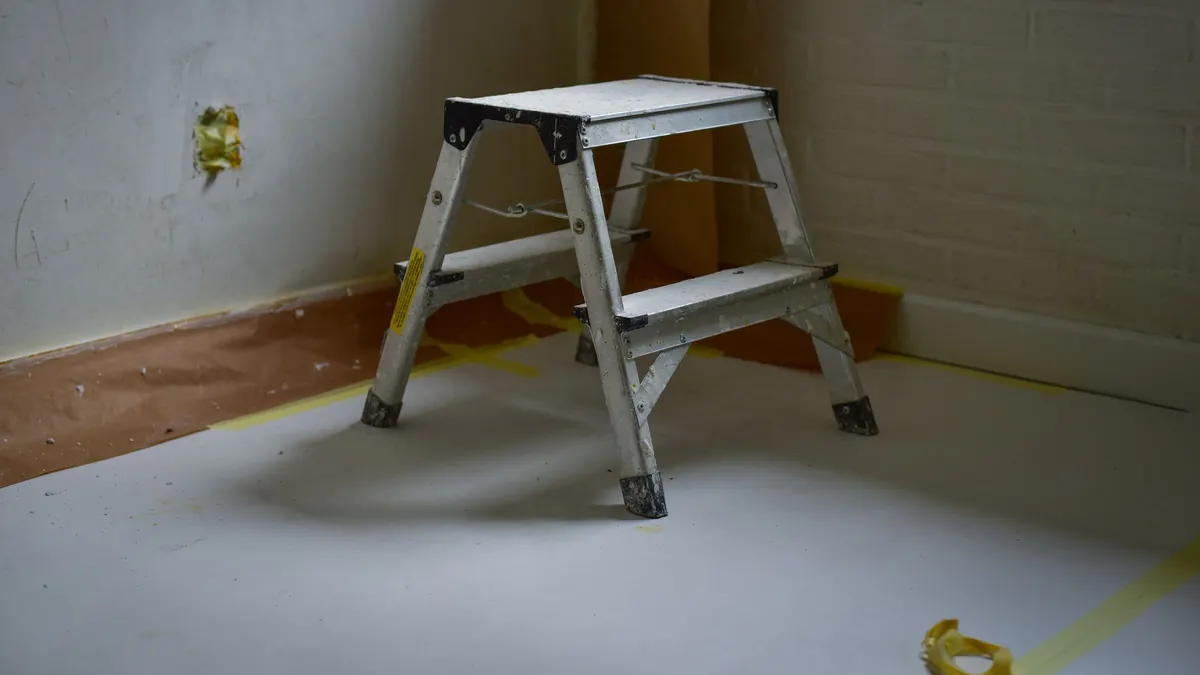
Height, and why it decides the basement subfloor
Basements have the ceiling height they have, and every layer you add comes off it.
Work it out before deciding anything else. Measure from the slab to the lowest obstruction, which is usually ductwork or a beam rather than the joists. Then subtract the subfloor build-up and the finished flooring, and see what you are left with.
Check the result against what your local code requires for habitable space, since that requirement is set locally and it is not negotiable. Where the margin is tight, a shallow panel system may be the only viable option, and that constraint is worth discovering now rather than after the materials arrive.
Doors are affected as well. Raising the floor reduces the clearance beneath every door in the basement, so internal doors may need trimming and an external or stairwell door may need rehanging. Plan for that rather than discovering it with the floor already down.
Remember the stairs too. Raising the floor changes the height of the bottom step, which can put it outside the tolerance allowed for a flight, so it is a code matter rather than a cosmetic one.
Dealing with an uneven slab
Few basement slabs are flat, and how much that matters depends on the system you have chosen and the flooring going on top.
Find out before you build. Lay a long straightedge across the floor in several directions and look for gaps beneath it, marking high and low points as you go. A slab that varies gently over a long distance is a different problem from one with a sharp step.
High spots are usually ground down, which is dusty but straightforward. Low areas are filled with a levelling compound, and most of these are cementitious products poured and allowed to find their own level.
One caution applies in a basement. A levelling compound adds another layer between the slab and the finished floor, and some are not intended for use where vapour is moving up through the concrete. Check what the product permits over a below-grade slab before pouring it.
Where the unevenness is severe, a sleeper system solves the problem more honestly than trying to pour it flat, because sleepers can be packed individually to a level line. That is the trade-off for the extra height they consume.
How much insulation it adds
ENERGY STAR explains the unit clearly: insulation levels are specified by R-value, which is a measure of insulation’s ability to resist heat traveling through it, and the higher the R-value the better the thermal performance.
A panel system provides some separation from the cold slab, mostly through its air gap. A foam build-up provides considerably more, and you can specify the thickness.
Whether that matters depends on how the space will be used. For storage, a thermal break is nice but not essential. For a bedroom or a sitting room, a cold floor is the thing occupants notice most, and the extra build-up usually justifies the lost height.
Installing a basement subfloor
- Resolve any liquid water problem and give the slab a wet season if you can.
- Test the slab for moisture, and keep the result.
- Clean the slab thoroughly, removing dust, debris and old adhesive.
- Deal with any cracks or spalling, and grind down high spots.
- Check for level, and decide whether the system can accommodate what you find.
- Lay the vapour control layer, where the system requires a separate one.
- Leave an expansion gap at the perimeter, as the manufacturer specifies.
- Build the subfloor, working from a straight reference line rather than the wall.
- Check the surface for flatness before any flooring goes down.
Step seven is the one most often skipped. Materials move, and a subfloor built tight to the walls has nowhere to go, which shows up later as lifting or creaking.
Basement subfloor mistakes that cause failures
Building over a slab that is still wet. The single most expensive error, because everything above has to come up again.
Two vapour barriers. One above and one below traps moisture between them where it cannot dry in either direction.
Timber in direct contact with concrete. Untreated timber on a damp slab is a wicking path.
No expansion gap. Cheap to leave, expensive to retrofit.
Ignoring the height before buying. Discovering the headroom problem after delivery is a costly way to learn it.
Laying over a slab with high spots. Flooring telegraphs every irregularity underneath it.
Skipping it entirely under a material that needs it. Covered below.
When you can skip the subfloor over concrete
Not every basement floor needs a subfloor, and it is worth being honest about that rather than selling one by default.
Skip it where the finished surface is designed for direct contact with concrete and your moisture test supports it. Sealed or polished concrete, ceramic tile over a sound slab, and vinyl products rated for below-grade installation all qualify. Our basement flooring guide covers which materials those are.
Skip it also where headroom genuinely does not allow one and the use is light, such as a utility or storage area, provided the flooring choice reflects that.
Do not skip it under engineered wood, laminate, solid timber, or carpet with a conventional underlay, unless the manufacturer explicitly permits direct installation over a below-grade slab and your slab meets their moisture specification.
Finally, keep the moisture test result with your project paperwork. If a floor ever fails, that document is the difference between a warranty conversation and a disagreement, and it is the cheapest piece of evidence in the whole basement finishing cost.
Frequently asked questions about basement subfloor
Do I need a subfloor in my basement?
For anything other than a surface designed to sit directly on concrete, yes. A slab in contact with the ground transmits moisture and cold upward, and most finished floor materials fail when exposed to either. A subfloor separates the finish from the slab, which is why it belongs in the budget rather than being treated as optional.
Can I lay flooring directly on concrete?
Some materials are made for it, including certain vinyl products, sealed concrete itself, ceramic tile over a sound slab, and carpet tiles designed for the purpose. Materials that are not made for it, which includes most engineered wood, laminate and solid timber, will cup, delaminate or grow mould when laid straight onto a below-grade slab.
What is the best basement subfloor?
It depends on your moisture test result and your available height. Interlocking panel systems with a dimpled underside are the usual choice where headroom is tight and simplicity matters. Sleepers with rigid foam between them give more insulation and more height adjustment but take more height and more work. There is no single best; there is the one that suits your slab.
How much height does a subfloor take?
Enough to matter in a basement, which is why it should be decided before anything else about the floor. Panel systems are the shallowest option, while sleeper systems with insulation take considerably more. Measure your finished ceiling height with the proposed build-up included, since headroom is usually the binding constraint rather than cost.
Do I need a vapor barrier under it?
Usually yes, and some panel systems incorporate one in their design. What you must avoid is two barriers with an air gap between them, which traps anything that gets in. Decide where the single vapor control layer sits, and do not add a second.
Can I skip the subfloor to save money?
You can, and Bob Vila lists the quality of materials used among the factors affecting what finishing a basement costs. Skipping it is a false economy, though, if the flooring above needs protecting from the slab. Replacing a failed floor costs far more than the subfloor would have, and the failure usually takes the skirting and some drywall with it.
Sources and how we researched this guide
Research-based. R-value framing is quoted from ENERGY STAR and moisture guidance from EPA. Specific product performance figures vary by manufacturer and we do not reproduce them; where a system’s behaviour is described here, that is the general behaviour of the type. Local code governs floor assemblies in finished basements, so confirm requirements before building. Found something out of date? Tell us and we will check it against the source.
- EPA: A brief guide to mold, moisture and your home
- ENERGY STAR: Recommended home insulation R-values
- Bob Vila: How much does it cost to finish a basement
Keep planning
- Best Flooring for a Basement: What Survives a Below-Grade Slab
- Basement Finishing Cost: Budget by Square Foot and Scope
- Egress Window Cost: Above Ground, Below Ground and Why
- Egress Window: Requirements, Types and Whether You Need One
Go deeper: Foundations & Cracks hub · Foundation Crack Triage Tool · Yard Drainage Grading Calculator

Written by Jeremy Jarvis
Jeremy Jarvis is the founder and editor of Basement Playbook, where he builds research-based guides and free planning tools for wet basements and crawl spaces: sump pumps and drainage, encapsulation, dehumidification, radon testing and mitigation, foundation cracks and finishing a basement that stays dry. He sets the site's editorial standards, checks every guide against official sources such as EPA radon and mold guidance, CDC, ENERGY STAR, state health departments and manufacturer documentation, and is responsible for corrections. Structural and radon mitigation work is always referred to a licensed engineer or a certified mitigator. Jeremy also founded Eco Nomad Travel, Mind Clarity Hub, SilkHarborTravel, WanderOza Travel, Freedom Road Living, PowerProof Home and Garage Playbook, and he is the author of books on clarity, focus and practical AI, including The Power of Clarity and Digital Clarity.