
How to Test for Radon: Kits, Placement and Results
Learning how to test for radon takes about five minutes; doing it so the result means something takes slightly more care. Radon testing is unusual among home checks because the gas gives you nothing to go on. EPA describes radon as a naturally occurring radioactive gas, and notes it has no taste, odor or color and cannot be detected without testing.
Last reviewed and updated: October 9, 2026. Written by Jeremy Jarvis.
Key takeaways
- EPA states that testing is the only way to know your level of exposure, and that all homes should be tested.
- The action level is 4 pCi/L: EPA recommends homes be fixed at 4 pCi/L (150 Bq/m3) or more.
- EPA also recommends considering a fix between 2 and 4 pCi/L, because there is no known safe level.
- Placement decides whether the number means anything: lowest lived-in level, away from drafts, walls and exterior doors.
- Closed-house conditions for a short-term test are a requirement, not a refinement.
Already have a result?
If you have a number and want to know what it means, our radon levels guide covers interpretation and the action thresholds.
Why you have to test for radon at all
EPA is unambiguous on both points that matter here. Testing is the only way to know your level of exposure, and all homes should be tested.
The reason is the health risk rather than the nuisance. EPA describes radon as a leading cause of lung cancer. It bases its estimate of 21,000 radon-related lung cancers a year on the national average indoor level. Moreover, a neighbour’s result does not predict yours. Radon depends on the ground beneath the individual house, and on how that house is built and ventilated.
Short-term and long-term radon testing
The first decision in how to test for radon is which kind of test to run, because the two answer different questions.
| Short-term test | Long-term test | |
|---|---|---|
| Duration | A few days | Months |
| Answers | What is the level right now | What is my yearly average |
| Conditions | Closed-house conditions required | Normal living, no closed conditions |
| Best for | A fast first answer, property sales | Deciding whether to spend on mitigation |
| Weakness | Weather and season skew a snapshot | Slow, so not useful under time pressure |
A sensible default is to start short-term, because it is quick and cheap. Then, if the result sits anywhere near the action level, follow it with a long-term test before committing to a mitigation system. In other words, learning how to test for radon properly often means testing twice.

Choosing a kit to test for radon
Kits differ in the physics they use. From a homeowner’s point of view, though, the practical differences in how to test for radon come down to duration, whether a laboratory is involved, and whether the device is reusable.
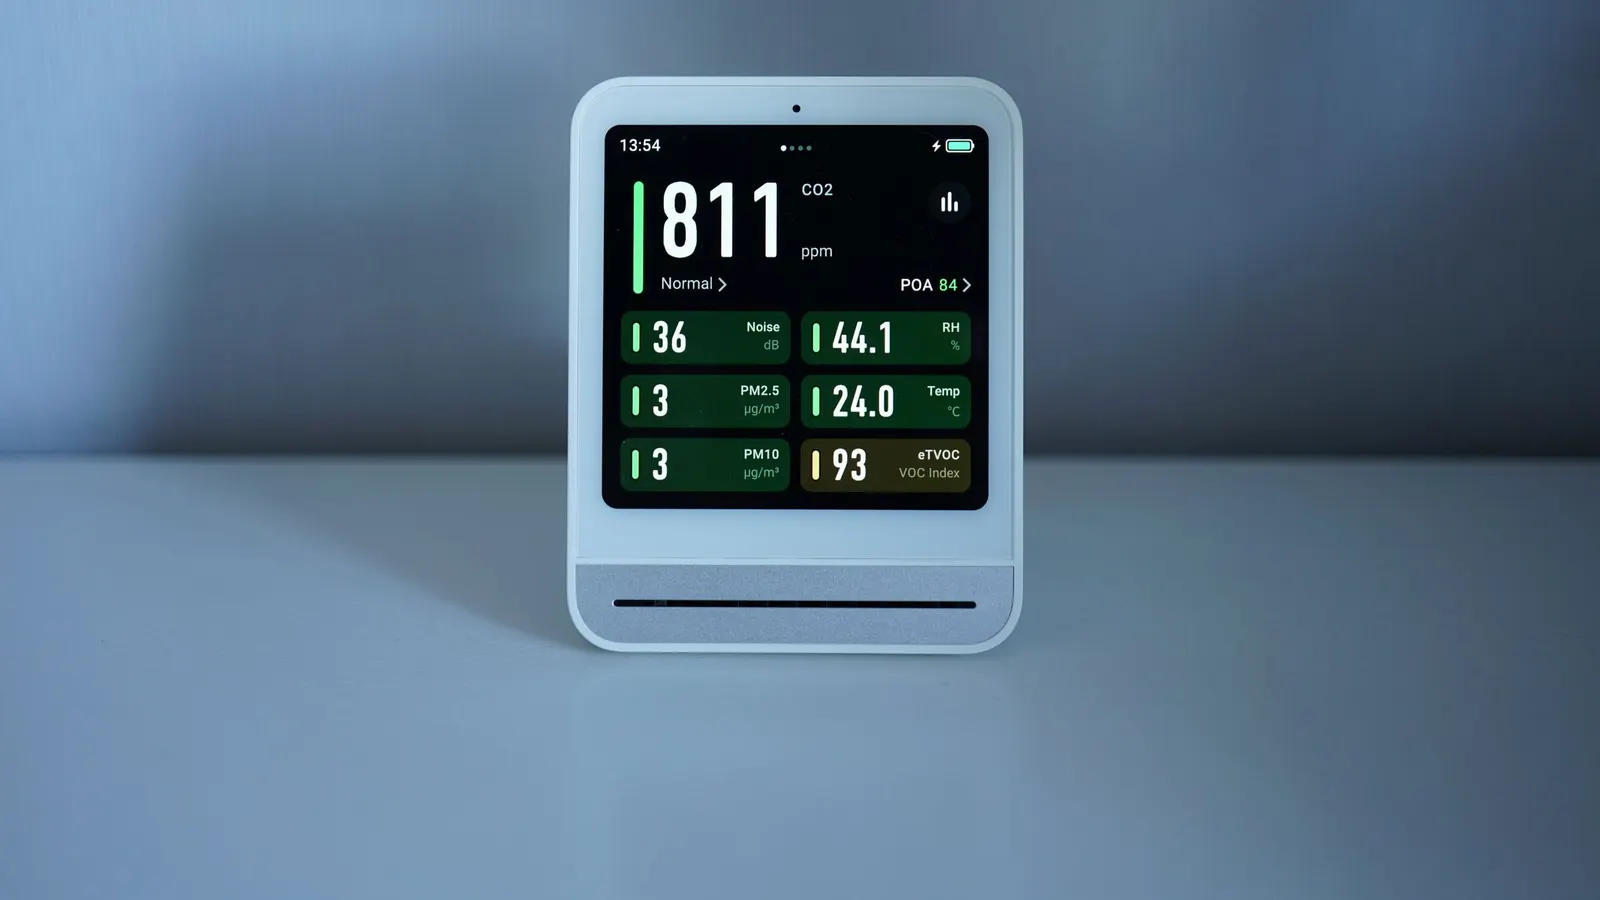
Passive kits are exposed for the stated period and then posted to a laboratory, which reports the result. Continuous monitors are electronic, display readings on screen and can be moved around the house. EPA points homeowners toward finding a radon test kit as the starting point, and our radon test kit guide compares the types in detail.
Whichever you buy, check that the laboratory analysis is included in the price, and check the expiry date on a passive kit before you deploy it. An out-of-date detector is a wasted test period rather than a wrong answer.
Where to place a radon test
Placement is the part that decides whether your number is meaningful, and it is where most attempts to test for radon go wrong.
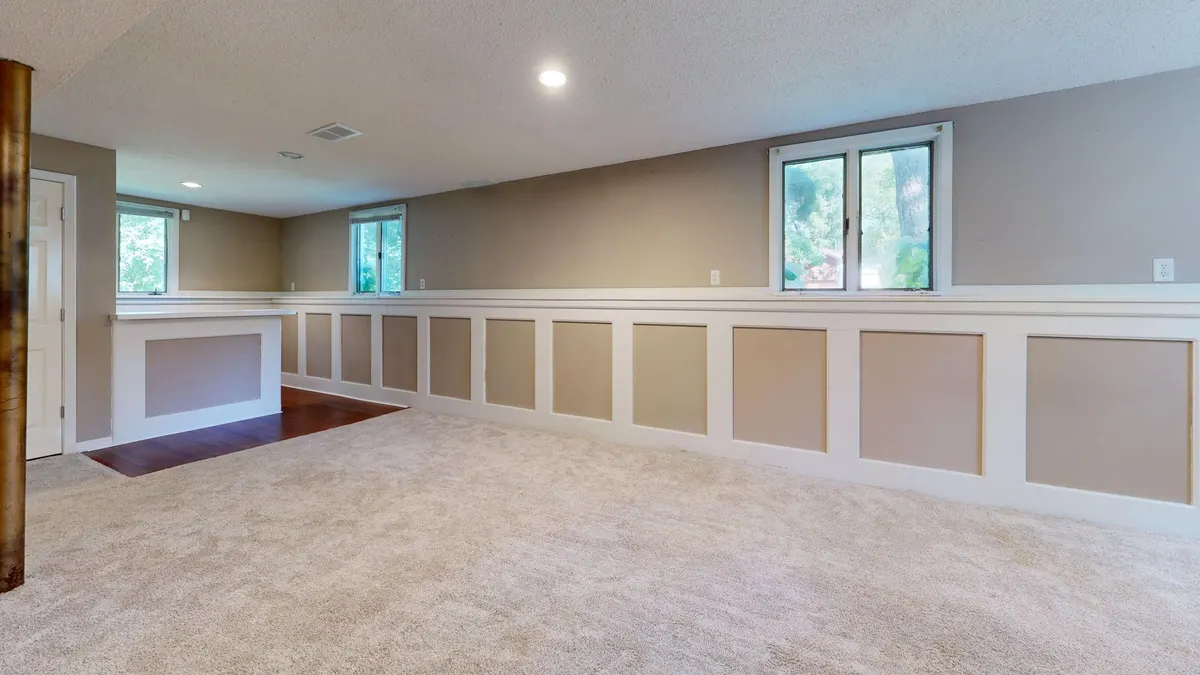
Put the detector on the lowest level of the home that you live in, or that you plan to live in. An unfinished basement nobody uses is the wrong place if the family lives upstairs. It is the wrong place in the other direction, though, if you are about to finish it.
- Keep it at least a few feet off the floor, at normal breathing height.
- Keep it away from exterior walls, doors and windows.
- Avoid drafts from vents, fans and heaters.
- Avoid kitchens, bathrooms and laundry rooms, where humidity interferes.
- Keep it out of direct sunlight and away from heat sources.
- Leave clear space around it rather than tucking it behind furniture.
- Do not place it in a closet, a crawl space or a sump pit.
Write down where you put it and when. You will want that information if a second test disagrees with the first.
Multi-storey houses raise a reasonable question: should you test more than one level? For deciding whether to mitigate, one correctly placed detector on the lowest occupied level is what the action level is written against. Testing additional levels is useful for a different purpose, which is understanding how the gas distributes through your particular house. Levels generally fall as you go up, so an upstairs reading will usually be lower and should not be used to reassure yourself about the floor below.
Houses with more than one foundation type, such as a basement alongside a slab-on-grade extension, are the exception worth taking seriously. Those sections can behave quite differently, and if people spend time in both, each deserves its own detector.
Closed-house conditions, and why they are not optional
For a short-term test, closed-house conditions are part of the method rather than a tidy-up.
In practice this means keeping windows shut. Exterior doors stay closed except for normal coming and going. Whole-house fans, and anything else that deliberately ventilates the building, stay off. Normal heating, cooling and bathroom extract use is fine.
Begin the closed conditions before the test starts, not at the same moment. That way the air in the house has settled into its closed state. Consequently a test that starts right after a day with the windows open will read low. A low result obtained that way is worse than no result, because it is reassuring and wrong.
What quietly voids a test
Several ordinary events invalidate a measurement without producing any sign that something went wrong.
- Opening windows during a short-term test.
- Moving the detector part-way through.
- Starting or finishing on the wrong date, so the exposure period is wrong.
- Letting the kit sit at home for days before posting it to the laboratory.
- Running the test during severe storms or high winds, which change pressure in the house.
- Major building work, which changes both ventilation and the ground conditions.
- Placing the kit where a draft washes over it.
Because none of these are detectable in the result, the discipline matters more than it feels like it should at the time.
Running the radon test, step by step
With the kit chosen and the location decided, the procedure for how to test for radon is short.
- Read the instructions fully, since the exposure period varies by product.
- Establish closed-house conditions ahead of the start, for a short-term test.
- Open the kit and record the exact start date and time.
- Place it according to the rules above, and leave it alone.
- Tell everyone in the house not to move it.
- At the end of the period, seal it and record the finish date and time.
- Post it to the laboratory the same day.
That last step is the one people lose. A sealed kit sitting on a hall table for a week is still accumulating its own small history, and the laboratory calculates from the dates you wrote down.
Reading the result against the action level
Results come back in picocuries per liter in the United States, and EPA’s thresholds are explicit.
EPA recommends homes be fixed if the radon level is 4 pCi/L, which is 150 becquerels per cubic metre, or more. Below that, it recommends that Americans consider fixing their home for radon levels between 2 pCi/L and 4 pCi/L, because there is no known safe level of exposure to radon.
Two reference points help put a number in context. EPA gives the average indoor radon concentration for America’s homes as about 1.3 pCi/L, and the average concentration in outdoor air as 0.4 pCi/L, which is a tenth of the action level.
EPA also notes that countries worldwide have adopted action levels for radon exposure, most similar to the United States figure, and that the action level observed should comply with the guidance of the country, state or other local jurisdiction where the test is being conducted.
Why two tests of the same house can differ
People are often unsettled when a second result does not match the first, so it helps to know why that happens.
Radon enters a house through the ground and leaves through ventilation, and both sides of that balance move. Soil conditions change with rainfall and frost. Pressure differences between the house and the ground change with wind and with temperature. That is why winter readings commonly run higher than summer ones. Running extract fans or opening windows changes the ventilation side directly.
Consequently a short-term test is a snapshot of one set of conditions rather than a fixed property of the building. That is precisely why EPA frames its guidance around exposure over time, and why a long-term test is the better basis for spending money.
A practical rule follows from this. Where two short-term results straddle the action level, trust neither and run a long-term test. Where both sit well below 2 pCi/L, or both sit well above 4 pCi/L, the decision is clear enough that further measurement adds little.
When to retest
One result is a starting point rather than a permanent property of the house, so knowing how to test for radon includes knowing when to do it again.
Test again after any work that changes how the house breathes or sits on the ground: a new heating system, new windows, sealing or insulating, finishing a basement, or foundation work. You should also repeat the test if you begin using a lower level that was previously unoccupied, since the relevant measurement moves with you.
Retest too if a short-term result sat close to the action level, because a snapshot taken in unusual weather deserves a second opinion. Our radon levels guide explains how much variation is normal between tests.
After a high result
A result at or above the action level is a prompt to plan work, not an emergency to act on tonight.
Confirm it first, ideally with a long-term test or a second short-term test. The exception is time pressure in a sale. Then get quotes from qualified mitigation contractors. Our mitigation guide explains how these systems work, and the cost guide covers pricing.
Be careful with bundled cost figures when you compare. Fixr’s radon page gives a national average range of $650 to $2,850, with a $1,700 average. However, its $1,700 case describes professional continuous testing for 48 hours with analysis, plus passive depressurization to mitigate the radon. Its low case of $600 likewise includes both a passive charcoal test and mitigation. Its high case of $5,900 covers 90 days of continuous digital testing, plus active suction and basement sealing. Those are test-and-fix packages. Reading any of them as the cost of a test alone would therefore be wrong by a wide margin.
Radon testing after mitigation
Finally, a mitigation system is a piece of equipment, and equipment needs verifying.
Test again after installation to confirm the system achieved what it was meant to achieve, and keep testing periodically afterwards. A fan can fail silently, and the result is a house that looks protected while the level climbs back. Because radon gives no warning of its own, the periodic test is the only thing standing between a working system and an assumption.
Build the check into something you already do. Many mitigation systems include a simple pressure gauge on the pipe, and glancing at it when you change the smoke alarm batteries costs nothing. A gauge, though, only tells you the fan is moving air. It does not tell you the level in the room, and for that you still need to test for radon periodically with a kit.
Keep the paperwork together: the original result, the installation details, the post-mitigation result and each periodic test since. If you sell the house, that file answers a buyer question which would otherwise stall a sale, and it is far easier to assemble as you go than to reconstruct later.
Frequently asked questions about how to test for radon
How do I test my house for radon?
Buy a test kit, place it on the lowest level of your home that you live in, keep the house under closed conditions if it is a short-term test, leave it undisturbed for the stated period, then send it to the laboratory immediately. The method is simple; the placement and conditions are what determine whether the result is usable.
How long does a radon test take?
It depends which type you run. Short-term kits typically sit for a few days and give a snapshot under closed-house conditions. Long-term kits run for months and give a better picture of your yearly average, because radon levels move with weather, season and how the house is being used. Where the decision matters, the longer test is the more reliable basis.
Where should I place the radon detector?
On the lowest level of the home that you actually occupy or plan to occupy. Keep it away from exterior doors and windows, away from drafts, heat and humidity, out of kitchens, bathrooms and laundry rooms, and not tight against a wall. The aim is air that represents what people in that room breathe.
What radon level is too high?
EPA recommends homes be fixed if the radon level is 4 pCi/L, which is 150 becquerels per cubic metre, or more. It also recommends that Americans consider fixing their home for radon levels between 2 pCi/L and 4 pCi/L, because there is no known safe level of exposure to radon. For comparison, EPA puts the average indoor concentration for American homes at about 1.3 pCi/L.
Do I need a professional, or will a kit do?
A kit is sufficient for finding out where you stand, which is the decision most people are making. A certified measurement professional is the right choice for a real estate transaction, where an independent and tamper-resistant result is expected, and where the stakes justify the cost.
How much does radon testing cost?
Read the published ranges carefully, because they often bundle the fix. Fixr gives a national average range of $650 to $2,850 with a $1,700 average, but its $1,700 figure covers professional continuous testing for 48 hours with analysis and passive depressurization to mitigate the radon. That is a test plus a mitigation system, not the price of testing alone. A homeowner test kit is a far smaller purchase.
Sources and how we researched this guide
Research-based. Health guidance and action levels are quoted from EPA with the units as published. Cost figures come from Fixr, and we flag where Fixr’s range bundles mitigation with testing, because reading that number as the price of a test would overstate it several times over. We do not test homes ourselves; for a result used in a property transaction, use a certified measurement professional. Found something out of date? Tell us and we will check it against the source.
- EPA: Radon
- EPA: What is EPA’s action level for radon and what does it mean?
- Fixr: Radon testing and abatement cost
Keep planning
- Crawl Space Dehumidifier: Sizing, Drainage and Placement
- Crawl Space Vapor Barrier: Thickness, Coverage and Fitting
- Basement Water Alarm: Where to Put One and Which Type
- Crawl Space Encapsulation Cost: Price by Size and Scope
Go deeper: Moisture, Mold & Air hub · Dehumidifier Size Calculator · Basement Humidity Target Tool

Written by Jeremy Jarvis
Jeremy Jarvis is the founder and editor of Basement Playbook, where he builds research-based guides and free planning tools for wet basements and crawl spaces: sump pumps and drainage, encapsulation, dehumidification, radon testing and mitigation, foundation cracks and finishing a basement that stays dry. He sets the site's editorial standards, checks every guide against official sources such as EPA radon and mold guidance, CDC, ENERGY STAR, state health departments and manufacturer documentation, and is responsible for corrections. Structural and radon mitigation work is always referred to a licensed engineer or a certified mitigator. Jeremy also founded Eco Nomad Travel, Mind Clarity Hub, SilkHarborTravel, WanderOza Travel, Freedom Road Living, PowerProof Home and Garage Playbook, and he is the author of books on clarity, focus and practical AI, including The Power of Clarity and Digital Clarity.