
Radon Test Kit: How to Test Your Home and Read the Result
A radon test kit is the only way to learn whether your home has a radon problem. Radon gives you nothing to notice. EPA describes radon as a naturally occurring radioactive gas. It also states plainly that testing is the only way to know your level of exposure. CDC adds that radon is odorless and invisible, released naturally from rock and soil. Breathing high levels over time may cause lung cancer. In other words, no smell and no symptom will warn you. This guide covers how a radon detection kit works, which type to buy, and how to trust the number it gives you.
Last reviewed and updated: October 7, 2026. Written by Jeremy Jarvis.
Key takeaways
- EPA recommends fixing a home when the radon level is 4 pCi/L or higher, and says to consider fixing between 2 pCi/L and 4 pCi/L.
- There is no known safe level of radon, so a low result is a good result rather than an all-clear.
- Testing is the only way to know your level: radon has no taste, odor or color.
- A short-term kit answers the question in days; a long-term kit gives the better picture of a year of living there.
- Closed-house conditions decide whether the number means anything, so follow the kit instructions exactly.
+
Before you buy anything
Radon is measured in picocuries per liter, written pCi/L. EPA recommends fixing a home at 4 pCi/L or higher. Keep that one number in mind and the rest of this page is easy.
What a radon test kit actually measures
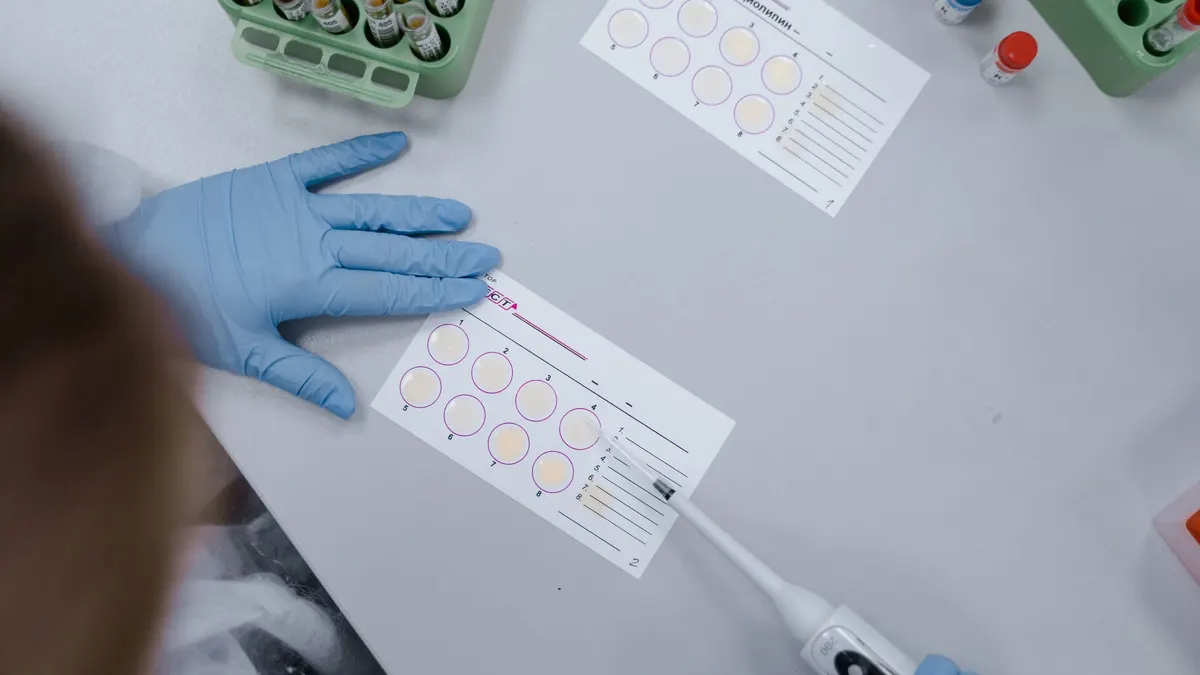
A passive radon test kit holds a detector. It quietly collects a sample of your indoor air over a set period. Afterwards you seal it and post it to a laboratory. The lab measures the radioactive decay captured inside. Then it reports a figure in pCi/L.
The kit itself does no maths. Instead, the laboratory does all of it. That is why the posting deadline on the envelope matters. A kit left in a drawer for a fortnight is wasted money.
How a radon detection kit differs from a monitor
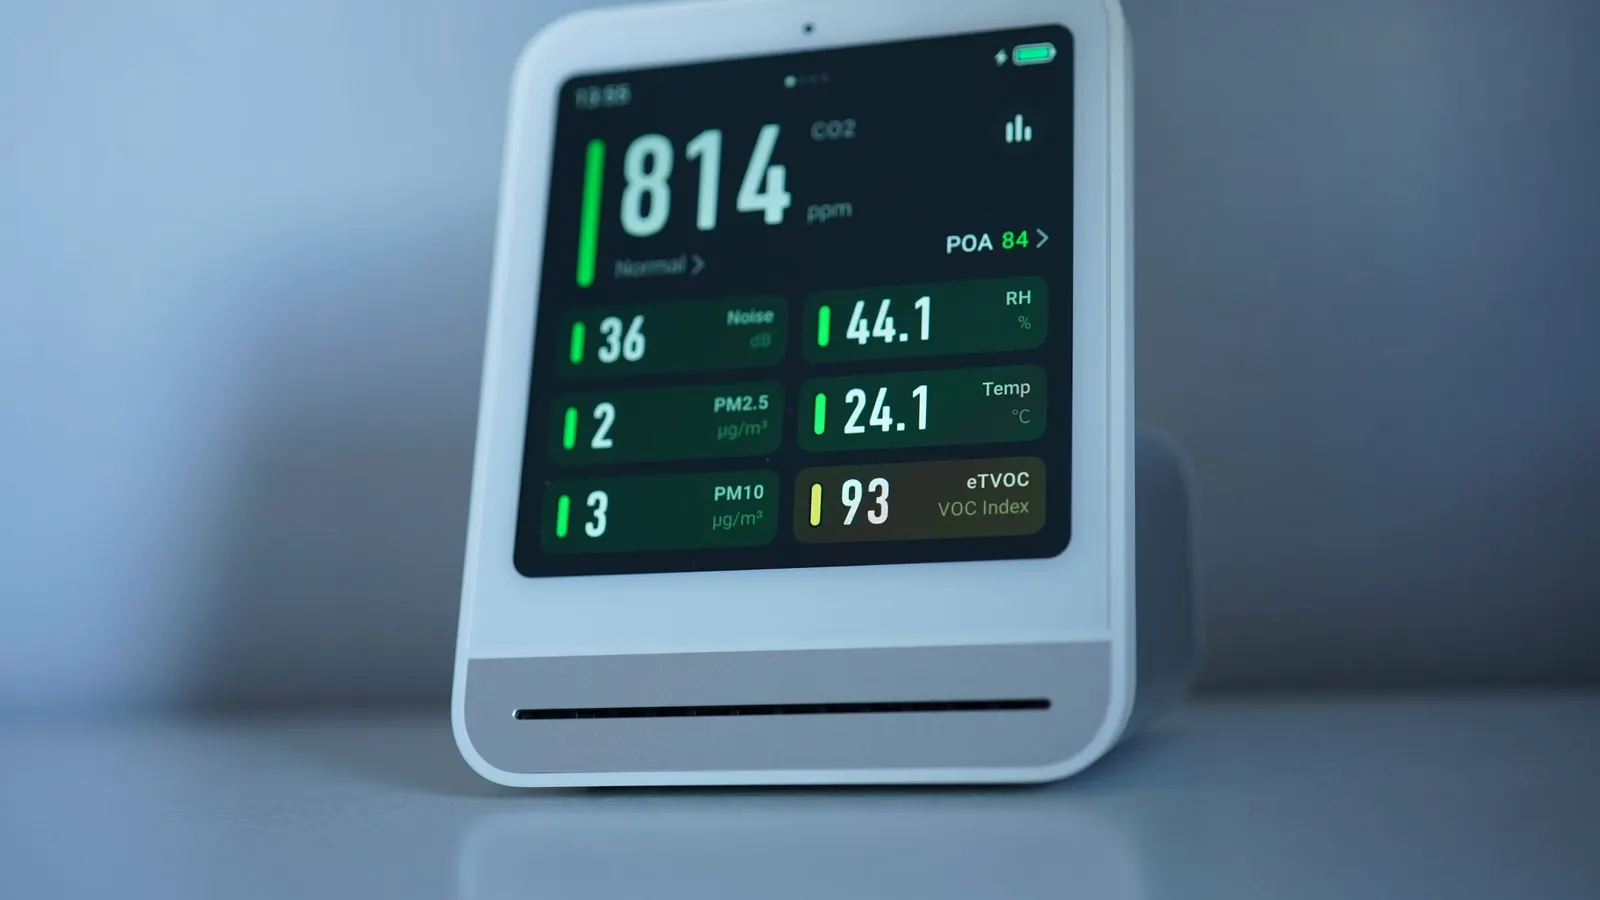
A radon detection kit is passive. It sits still and collects, then travels to a lab. An electronic continuous monitor works differently. A sensor samples the air non-stop and shows a running average on screen.
As a result, a monitor lets you watch levels move with the weather. A passive radon detection kit cannot show you that. However, a laboratory result is still the usual standard for a property sale. Therefore check what your situation needs before relying on a monitor alone.
Why every home needs a radon test
EPA states that all homes should be tested for radon. The reason is scale rather than drama. EPA estimates 21,000 radon-related lung cancers a year in the United States. It bases that estimate on the national average indoor level of about 1.3 pCi/L.
Meanwhile, outdoor air averages about 0.4 pCi/L. That is roughly a tenth of EPA’s action level. Consequently, indoor accumulation is the whole problem.
Furthermore, CDC is explicit on one point. Radon can build up in any home or building. It does not matter whether the house has a basement. It does not matter whether it is sealed or drafty, new or old. Radon gets in through small cracks or holes. Some building materials release low levels too.
For that reason, a newly built and tightly sealed house is not automatically safe. Likewise, a neighbour’s low reading tells you very little about yours.
Short-term and long-term radon test kits compared
Passive kits come in two broad families. The right choice depends on how quickly you need an answer.
| Kit type | Typical duration | Best for | Main limitation |
|---|---|---|---|
| Short-term kit | 2 to 7 days | A first screening, or a sale with a deadline | Captures one weather window, so it can read high or low |
| Long-term kit | More than 90 days | Knowing your real year-round exposure | You wait months for the answer |
| Continuous monitor | Ongoing, 48 hours minimum | Watching levels move, and checking a fix | Costs more upfront; may not satisfy a sale |
Most households start with a short-term kit. After all, it answers the question this week. Afterwards, if the result sits near the action level, test again.
Radon moves with the seasons. It also moves with soil moisture and with how hard you run the heating. Therefore a single winter weekend is a snapshot, not a portrait.
Closed-house conditions: the part most people get wrong
A radon test measures the air you actually have. So the test is only as good as the conditions you keep during it. Short-term kits normally require closed-house conditions.
In practice that means a few simple rules. Keep windows and external doors shut, apart from ordinary comings and goings. Do not run whole-house fans or window air conditioners. Many kits ask you to start closing up 12 hours before the test begins.
Consequently, a test run with the windows open can read far lower than the truth. Similarly, a test run during a sealed-up cold snap can read higher than your yearly average. Neither number is a lie. Each simply describes different conditions.
For that reason, follow the instructions on your own kit exactly. Also note the dates and the weather. Later, that note helps you read the result sensibly.
Where to place a radon test kit
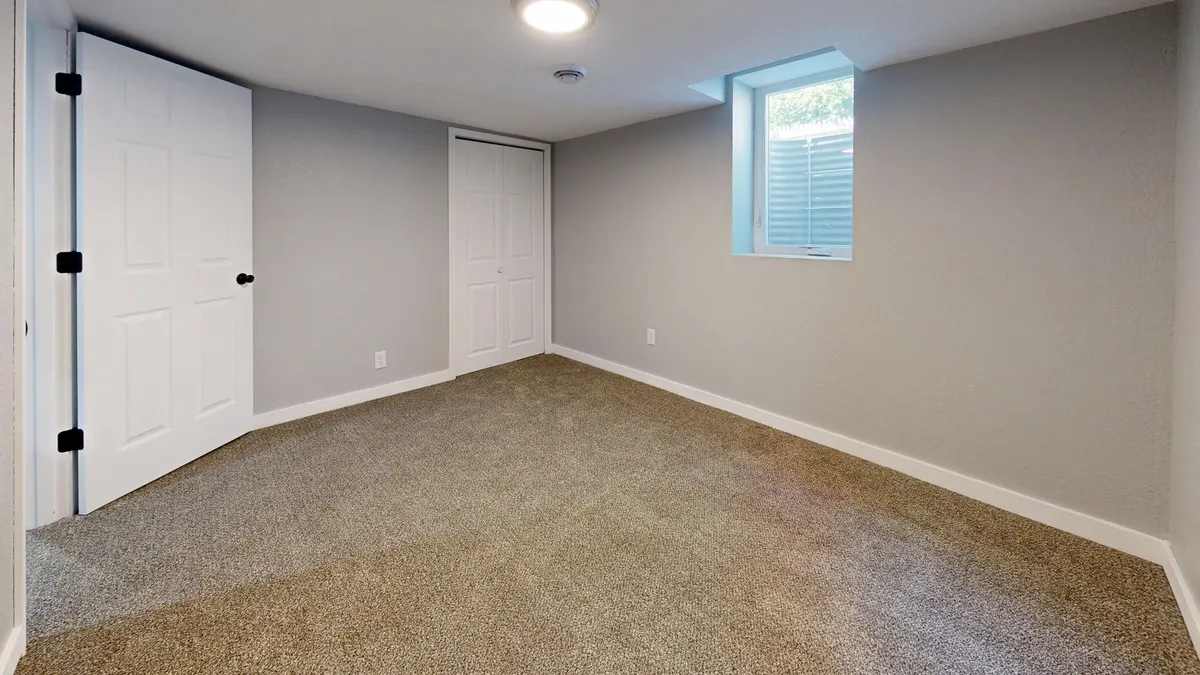
Placement decides whether you measure your living space or a draught. Put the detector in the lowest level you use regularly. For many houses that is a basement living area. For others it is a ground floor room.
Testing an unused crawl space tells you about the crawl space. It does not tell you about the family.
- Keep the detector away from exterior walls, windows and doors, where incoming air dilutes the sample.
- Avoid kitchens, bathrooms and laundries, because humidity affects some detectors.
- Keep it clear of heating vents, fans, fireplaces and direct sunlight.
- Follow the height stated on the kit, usually between knee and head height.
- Leave it undisturbed, and never move it partway through to check.
In addition, write the start time on a note beside the kit. People forget. A test of unknown length is a test you repeat.
Reading your radon test result against EPA levels
Your laboratory report gives a number in pCi/L. EPA’s guidance turns that number into a decision.
| Result | What EPA says | Sensible next step |
|---|---|---|
| 4 pCi/L or higher | EPA recommends the home be fixed | Confirm with a second test, then call a certified contractor |
| 2 to 4 pCi/L | EPA recommends you consider fixing | Run a long-term test, then weigh a fix |
| Below 2 pCi/L | No action level reached | Retest every few years, and after foundation work |
Notice that EPA frames 4 pCi/L as an action level. It is not a safety line. There is no known safe level of exposure to radon.
So a reading of 3.2 pCi/L is not a pass. Rather, it is a number worth reducing if you reasonably can. For context, the national average indoor level is about 1.3 pCi/L. Anything well above that is unusual for a home.
Radon test kit mistakes that ruin a result
Most failed tests fail for ordinary reasons. Faulty detectors are rare.
- Opening windows during a short-term test, which dilutes the sample and hides a real problem.
- Placing the kit in a crawl space, garage or unfinished area nobody occupies.
- Leaving for a week with the heating off, so the house behaves nothing like normal.
- Letting the detector sit for days before posting it, which the laboratory cannot correct.
- Treating one short-term result as final when it lands close to the action level.
- Retesting after a fix before the system has run long enough to settle.
Each mistake is avoidable. Together they explain most of the “my two tests disagree” stories online.
Professional radon testing and what it costs
You can also hire a measurement professional. That is common during a property sale. Pricing varies by region and by what the quote includes. Therefore read any published figure carefully.
Fixr, quoted October 2026, gives a national average range of $650 to $2,850, with most homeowners paying $1,700. However, that range covers professional continuous testing and passive depressurization to mitigate the radon. It is not the price of testing alone. Fixr puts the low end at $600. It puts the high end at $5,900, for 90 days of continuous digital testing plus active suction and basement sealing.
In other words, published “radon testing cost” figures often bundle the fix with the measurement. So when you compare quotes, check line by line. Are you reading the price of finding out, or the price of solving it? Our radon mitigation system cost guide separates the two.
What to do after a high radon result
First, do not panic. Also, do not start sealing cracks as a cure. Sealing alone is not a reliable fix, although it forms part of a properly designed system.
Instead, confirm the result with a second test. A decision this expensive deserves two data points. Afterwards, if the level still sits at or above 4 pCi/L, call a mitigation contractor. Choose one certified by your state or by a national certification programme.
A standard fix is sub-slab depressurization. It draws soil gas from beneath the floor slab and vents it above the roofline. Our guide to radon mitigation systems explains how these are built. It also explains why the design is not a do-it-yourself job.
Finally, retest once the system has been running. Then keep testing every couple of years.
When to test, and how often
Timing changes what you measure. Winter usually gives the highest readings, because the house is shut and warm air rising indoors pulls soil gas upward. Summer often gives lower readings, with windows open and the stack effect weaker.
So a winter short-term test is the cautious choice. It is more likely to catch a problem than to miss one. A long-term radon detection kit sidesteps the question entirely by averaging across seasons.
Retest in these situations:
- Every two years as routine, even after a low result.
- After any foundation repair, new slab, or underpinning work.
- Once you finish a basement, because an unused space becomes living space.
- When a mitigation system is installed or replaced, to confirm it works.
- Before buying or selling, because the result is part of the transaction.
What the pCi/L number actually represents
The unit looks technical, so it is worth unpacking. A picocurie is a measure of radioactive decay. One picocurie per liter means about two radioactive decays per minute in every liter of air you breathe.
At EPA’s 4 pCi/L action level, that is roughly eight decays a minute per liter. The gas itself passes straight through you. The concern is its decay products, which are solid particles that lodge in lung tissue.
This explains two things people find confusing. First, radon risk is cumulative, so time at a level matters as much as the level itself. Second, a basement bedroom used nightly carries more exposure than a storage cellar at the same reading.
Why neighbouring houses give different results
Homeowners often compare readings over the fence. Those comparisons mislead more often than they help.
Radon entry depends on what sits under your particular slab. Soil composition varies across a single street. So does the path water takes underground. Foundation type matters too, as does the number and size of cracks and service penetrations.
Ventilation adds another variable. A house with a tight building envelope holds soil gas longer than a draughty one. Heating patterns change the pressure difference that pulls gas indoors.
Consequently, two identical-looking houses can differ several-fold. State and county radon maps are useful for awareness. However, they describe regional tendencies rather than individual buildings, and EPA is clear that testing is the only way to know your own level.
Testing during a home sale
Property transactions add rules. Buyers often want a short-term test with a tight turnaround. Some states require disclosure of a known radon result, so check your own state’s rules early.
Tamper risk also matters here. During a sale, a test may be placed by a professional rather than a homeowner. Moreover, the detector may be positioned where it cannot be moved or ventilated. That is not suspicion of anyone; it is simply how a result stays defensible.
If you are selling and already hold a recent radon detection kit result, keep the laboratory report. A dated report from a named lab carries far more weight than a remembered number.
A short radon testing checklist
- Buy a kit from a reputable supplier and check the laboratory fee is included.
- Close the house 12 hours before starting, if your kit requires it.
- Place the detector in the lowest regularly used level, away from drafts and damp.
- Record the start date and time, then leave the detector alone.
- Post it to the laboratory the day the test ends.
- Compare the result with EPA’s 4 pCi/L action level and the 2 to 4 pCi/L range.
- Retest to confirm anything near the action level before paying for a fix.
Testing is cheap relative to what it rules out. Moreover, it is the one step that turns radon from a worry into a number. Once you have that number, our guide to radon levels explains what it means in practice.
Frequently asked questions about radon test kits
How does a radon test kit work?
A passive radon test kit sits in your home collecting a sample of the air for a set period, then goes to a laboratory. The lab measures how much radon decayed inside the detector and reports a result in picocuries per liter, written pCi/L. An electronic continuous radon monitor does the same job with a sensor and shows readings on a display instead.
How long does a radon test take?
A short-term radon test usually runs for two to seven days, depending on the kit. A long-term test runs for more than 90 days. Short-term tests are faster, but radon moves with weather and season, so a long-term test better reflects what you actually breathe over a year.
Where should I put a radon test kit?
Place it in the lowest level of the home that you use regularly, which is often a basement or a ground floor room. Keep it away from drafts, exterior walls, windows, heating vents and humid rooms such as kitchens and bathrooms. Follow the height and clearance instructions printed on your kit.
What radon level is dangerous?
EPA recommends that homes be fixed if the radon level is 4 pCi/L or more, and because there is no known safe level of exposure, EPA also recommends considering a fix between 2 pCi/L and 4 pCi/L. For comparison, the average indoor level in American homes is about 1.3 pCi/L.
Do I still need to test if I do not have a basement?
Yes. CDC states that radon can build up in the air in any home or building, whether it has a basement, is sealed or drafty, or is new or old. The only way to know your home’s level is to test it.
Is a cheap radon test kit accurate?
A kit’s accuracy depends far more on following the instructions than on its price. Closed-house conditions, correct placement and posting the detector to the lab promptly all affect the result. If a do-it-yourself result is near or above the action level, confirm it with a second test or a professional measurement.
Sources and how we researched this guide
This guide is research-based. We did not test radon kits for this article; every level, threshold and health statement comes from EPA and CDC guidance, and the cost figures are quoted from Fixr with the date and the scope of the quote named. Radon mitigation is work for a state-certified or nationally certified mitigation contractor. Found something out of date? Tell us and we will check it against the source.
- EPA: Radon
- EPA: What is EPA’s action level for radon and what does it mean?
- CDC: About radon
- Fixr: Radon testing cost
Keep planning
- Foundation Settling: Normal Movement or a Real Problem?
- Hydraulic Cement: When to Use It and When Not To
- Bowing Basement Wall: Causes, Risk and Repair Options
- Foundation Crack Repair Cost: By Method and Severity
Go deeper: Radon hub · Radon Mitigation Cost Estimator · Basement Dry-Up Plan Builder

Written by Jeremy Jarvis
Jeremy Jarvis is the founder and editor of Basement Playbook, where he builds research-based guides and free planning tools for wet basements and crawl spaces: sump pumps and drainage, encapsulation, dehumidification, radon testing and mitigation, foundation cracks and finishing a basement that stays dry. He sets the site's editorial standards, checks every guide against official sources such as EPA radon and mold guidance, CDC, ENERGY STAR, state health departments and manufacturer documentation, and is responsible for corrections. Structural and radon mitigation work is always referred to a licensed engineer or a certified mitigator. Jeremy also founded Eco Nomad Travel, Mind Clarity Hub, SilkHarborTravel, WanderOza Travel, Freedom Road Living, PowerProof Home and Garage Playbook, and he is the author of books on clarity, focus and practical AI, including The Power of Clarity and Digital Clarity.